For this, I stood still at a crossroads, hoping to test the concept on relatively slow moving cyclists. But that morning, not many of them were around, maybe due to the cold weather. This image was shot at 1/60th of a second (100 mm telephoto lens). The cyclist is reasonably sharp with a nice blurred background.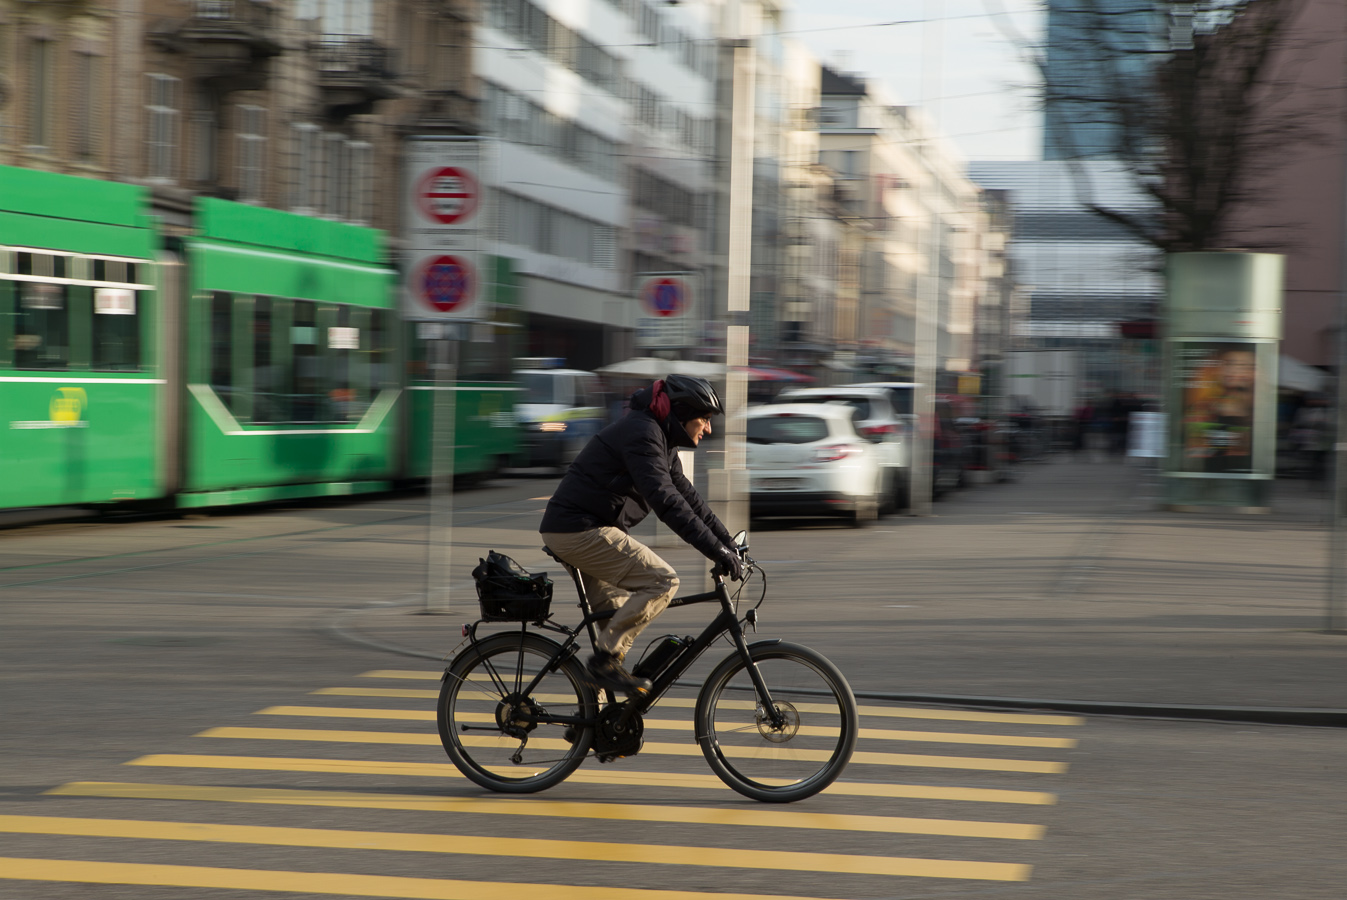 The second attempt was shot at 1/30th of a second. The car was not moving faster than the cyclist but due to the slower shutter speed, it was less easy for me to follow it. Therefore, it looks less sharp.
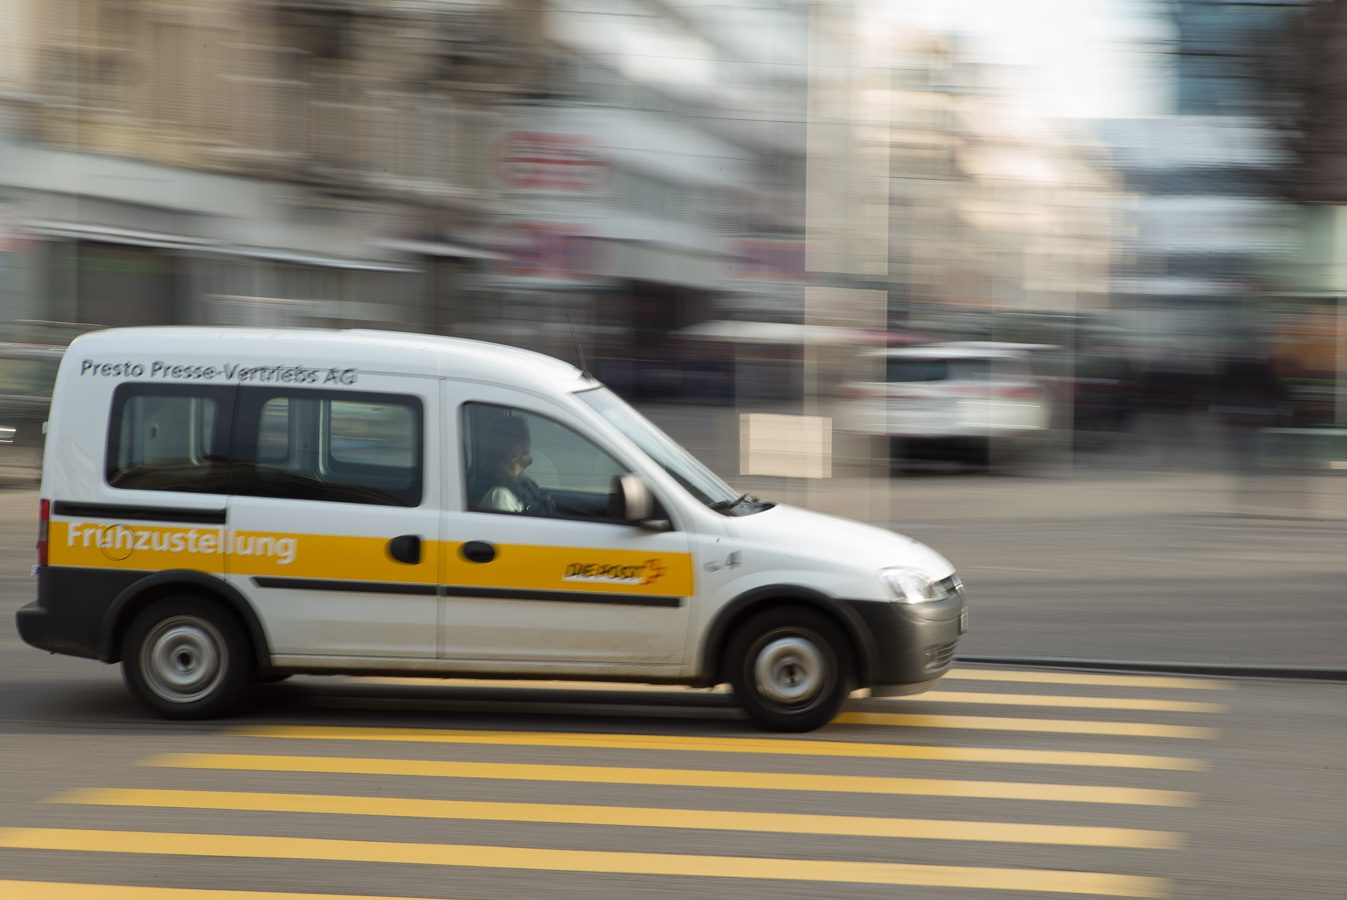
 At 1/15s, the blurring of the background looks great, but the main subject is even less sharp than above.
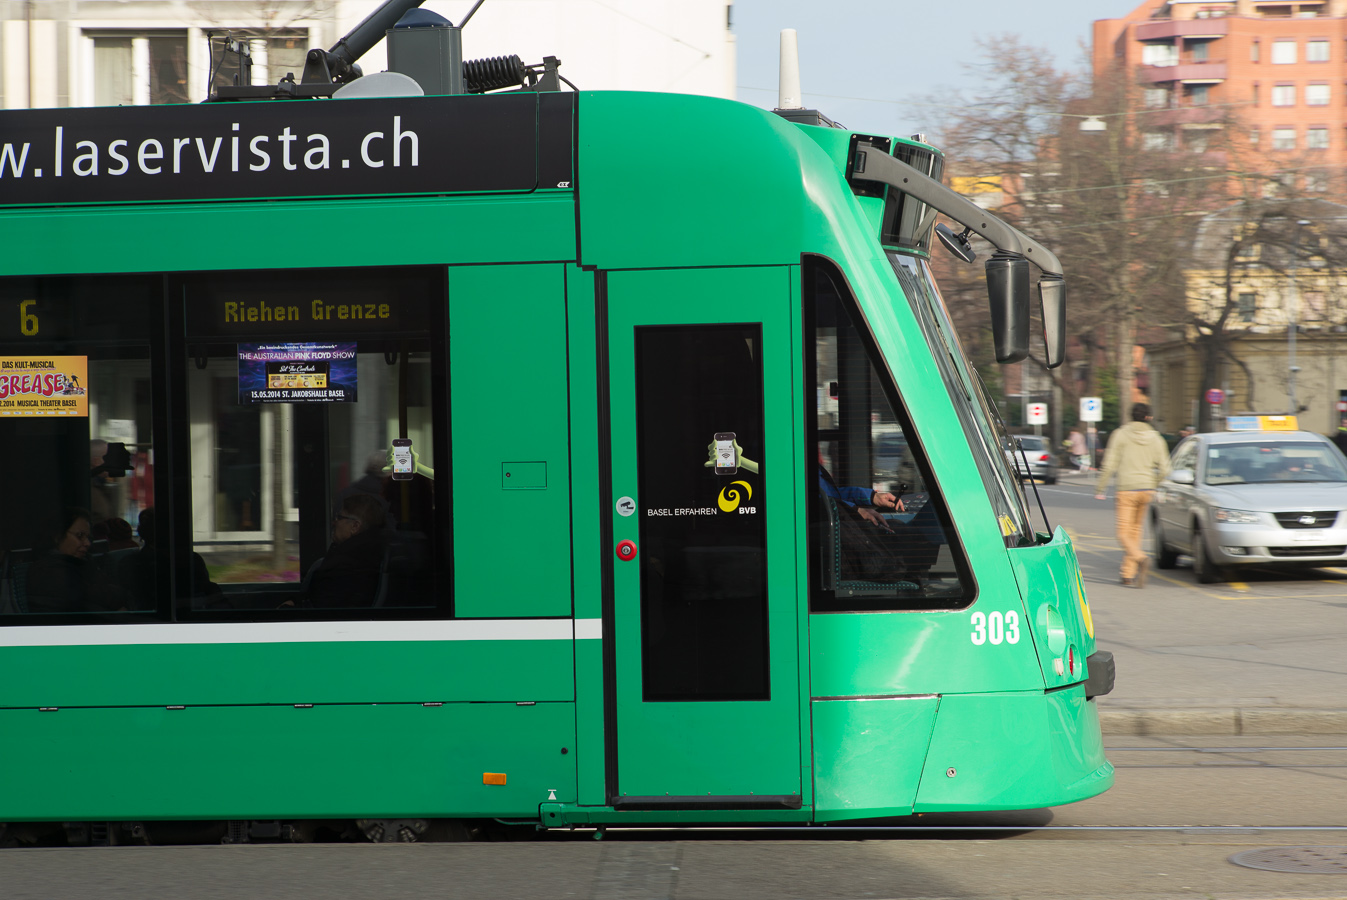
 I turned my attention to the tramcars and tried to improve the steadiness when following the subject. This image was also shot at 1/15s, but this time my efforts paid off: the moving vehicle is sharp with a nicely blurred background.
 With a faster speed (1/125s), the tramcar and the background appear almost still. The following photograph was shot with a 100mm telephoto lens on a 35mm equivalent digital camera.
 In the old days of 35mm film cameras, a rule of thumb to avoid blurred images due to camera shake was to never use a shutter speed lower than the focal length of the objective (i.e. with a 50mm lens you could safely use 1/60s, for a 100mm lens, 1/125 and so on). It seems that this remains valid in the digital era.
 This scene (Basel carnival 2012) was shot with a short zoom lens (24 to 70mm). The sequence of use is as follows:
- Set the flash to trigger on rear curtain (i.e. just before the shutter closes);
- Set the shutter speed according to ambient street light (or a bit faster to avoid it being too dominating); 1/4s in this case;
- Set the zoom at close range (70mm in this case);
- Concentrate on being ready to turn the zoom ring from 70mm to 24mm while at the same time following the subject and releasing the shutter.
The result is a combination of two images: first a blurred impression of the subject and its surroundings due to the movement of the zoom and second a fixed image created by the flash (duration of a flash is around 1/1000s).
